DNA Labs

Purpose - To make 10 milliliters of 5M NaCl solution.
To make 10 mL of TE buffer: 10 mM TRIS, 1 mM EDTA (DNA storage solution).
Purpose - Can DNA be spooled out of solution? What does DNA look like? What are some of its many unique properties? What yield of DNA can be recovered during the isolation?
Purpose - To prepare and pour an agarose gel for DNA fragment analysis.
Purpose - What is the appearance of different DNA samples on an agarose gel?
Materials -
Analytical Balance pH paper, narrow-range Hydrochloric Acid
Tabletop Milligram Balance TRIS Sodium Hydroxide
Weigh Paper EDTA, disodium salt Glass Rods
Lab Scoops Bottle, 125mL Tube Racks for 15mL Tubes
Sodium Chloride Gradual Cylinder, 100mL Tubes, 15mL, Capped
Materials -
50mL Beakers P-1000 Micropipet 15mL Capped Tubes
Salmon Sperm DNA Micropipet Tips for p-1000 Tube Racks for 15mL Tubes
Micropipet 2-20 95% Ethanol Permanent Lab Marker Pens (Sharpie)
Blue Pipet Pump Glass Rods Plastic Beaker
Materials -
TAE Buffer Concentrate 40X Weigh Paper Microwave Oven
600mL Beakers Lab Scoops Hot Hands Protector
Agarose 250mL Media Bottle Horizontal Gel Box for Agarose Gels
Tabletop mg Balance Permanent Lab Markers 50mL Beakers
Materials -
Horizontal Gel Box for Agarose Gels DNA Samples Power Supply
Prepared Agarose Gel Loading Dye 6X Ethidium Bromide
TAE Buffer Concentrate 40X Micropipet P-2-20/Tips Gel Photo Imaging System
Tube Rack for 15mL Micropipet P-20-200/Tips Gloves
Permanent Lab Markers Microcentrifuge
Procedure -
Preparation of 5 M of NaCl
1). Determine mass of NaCl to be measured.
Formula: (Molarity)(Volume)(Formula Weight) = g substance needed.
(M) (L) (g/mol)
Calculation: 10mL 5M NaCl
(5M/L)(0.010k)(58.44g/mol) = 2.92g NaCl (tabletop balance).
2). Put NaCl in 15-mL tube. Add dH2O until 10mL.
3). Pour mixture and label concentration, date, and initials.
Preparation of TE Buffer
1). Determine mass of TRIS to be measured.
Calculation: (0.010M)(0.1L)(157.6g/mol) = 0.157g TRIS (analytical balance)
2). Determine mass of EDTA to be measured.
Calculation: (0.001M)(0.1L)(372.24g/mol) = 0.037224g EDTA (analytical balance)
3). Measure out TRIS and EDTA. Add them to a beaker.
4). Add 80mL of deionized water and mix until chemicals dissolve.
5). Test solution's pH and either add small amounts of 1 M of HCl or add Sodium Hydroxide (NaOH) so that the pH decreases or reaches to a rating 7.5-8.5. For us, the pH of our solution was tested as 4, so we added a total of 4 drops of 10% NaOH to have our mixture be measured at 8.
6). Pour buffer into plastic bottle and label it.
Procedure -
Calculation: (C1)(V1)=(C2)(V2) to V1=(C2)(V2)/C1 to V1=(2)(2)/4 Result: 1ml DNA and 1ml TE
C1 = stock concentration V1 = volume stock C2 = final concentration V2 = final volume
1). Dilute DNA (1ml) with TE (1ml) in beaker and observe.
2). Add 500 microliters of 5 M of NaCl.
3). Add 4ml of Ethanol and slowly trickle it down the side of the beaker and observe the layers of the solution.
4). Spool DNA
5). Put DNA into a new tube with 2ml of fresh TE and label it.
Procedure -
1). 1 X TAE (TRIS-acetate-EDTA) - 500 ml. Make from 40X stock
Calculation: V1=(C2)(V2)/C1 to V1=(1)(500)/40 Result: 12.5ml
2). 50ml 0.8% agarose in 1 X TAE
% by volume
0.8% of 50ml
0.008 x 50 = 0.4 g agarose needed
3). Add agarose to 100 ml 1XTAE in erlenmeyer flask.
4). Heat to boil and dissolve in microwave (heat-swirl-heat-swirl) until clear.
5). Let it cool or until you are able to touch the flask for a few seconds.
6). Prep gel mold and put comb in.
7). Pour in prepared mold and let it cool
*Key Notes: The CH3COO(acetate) - keeps DNA from clumping
EDTA - inhibits DNase
Procedure -
1). Remove the tape from the gel and place it in the gel tank.
2). Pour TAE over gel until covered and gently remove combs.
3). Prepare Samples:
20ml DNA and 4ml 6X loading dye
(Set 2-20 Micropipet to 2-0-0 then to 0-4-0)
Spin 2sec. in mini centrifuge
4). Load samples onto gel
(Set 20-200 Micropipet to 0-2-4)
5). Put cover onto gel tank and plug in to power
6). Run at 110V for a total of 45min.
7). Stain for several hours with Ethidium Bromide, then rinse and observe with light
Data Analysis/Conclusions (all labs included)
In Lab 4a, we answered some key questions that allowed us to comprehend critical information so that we would understand the purpose of the following labs:
1). What is precipitation?
Taking a substance out of a solution.
Ex: Sugar at the the bottom of coffee that didn't dissolve is a precipitate.
2). Why NaCl?
Na+ ions in Nacl solution bind to DNA
which decreases its negative charge so DNA can precipitate.
3). Why Tris?
TRIS is a solution that resists pH change
It Maintains the pH of a DNA sample
4). Why EDTA?
Binds CA++ and Mg++ (cofactor enzymes that break down DNA)
Prevents breakdown of DNA
5). What are DNases?
Enzymes that break down DNA
In Lab 4b, my partner and I were successful in spooling our DNA and we had similar results to the rest of class. I believe that all the DNA was able to spool because every group was intricate and precise in how much of each component they were adding to the solution. The value of learning how to separate pure DNA molecules from known liquidis important because you want your DNA to be free of ribosomes, mitochondria, etc. This technique would be valuable to biotechnologists because it is key to be able to purify DNA with no contamination or else their experiments would not have expected results. Down below is a data table of observations after trickling the Ethanol down the beaker before spooling the DNA.
In conclusion of all the labs, we could not locate any signs of DNA. In fact, it was not just our group that resulted with this issue, but all groups in both classes finished their experiments with the same outcome. There are several factors that could contribute to unusual discovery.
1). Stained out and the DNA diffused out
2). Denatured
3). Dye was not loaded correctly or was not resuspended before loading
4). The buffers were not assembled right
5). One of the reagents is bad
However many of these assumptions do not seem likely. For example, the DNA being diffused out should not have occurred because it is too big, and having the dye not being loaded correctly does not make sense because at least one of the groups should have been able to accomplish it right. The only likely possibility seems to be that one of the reagents is bad, meaning the stain was light sensitive and could have been broken down. We can test this issue and see if we can unravel the problem:
- Tested time of staining should not have made a difference because 2/3 period had their waiting time for 2hrs. while my class (5/6) had our time of staining lasting for 18hrs.
- Make a new batch of stain
20,000Xstock - diluted to 1X
a). remade 1X solution from old 20,000 stock
b). remade 20,000 stock; diluted to make new 1X
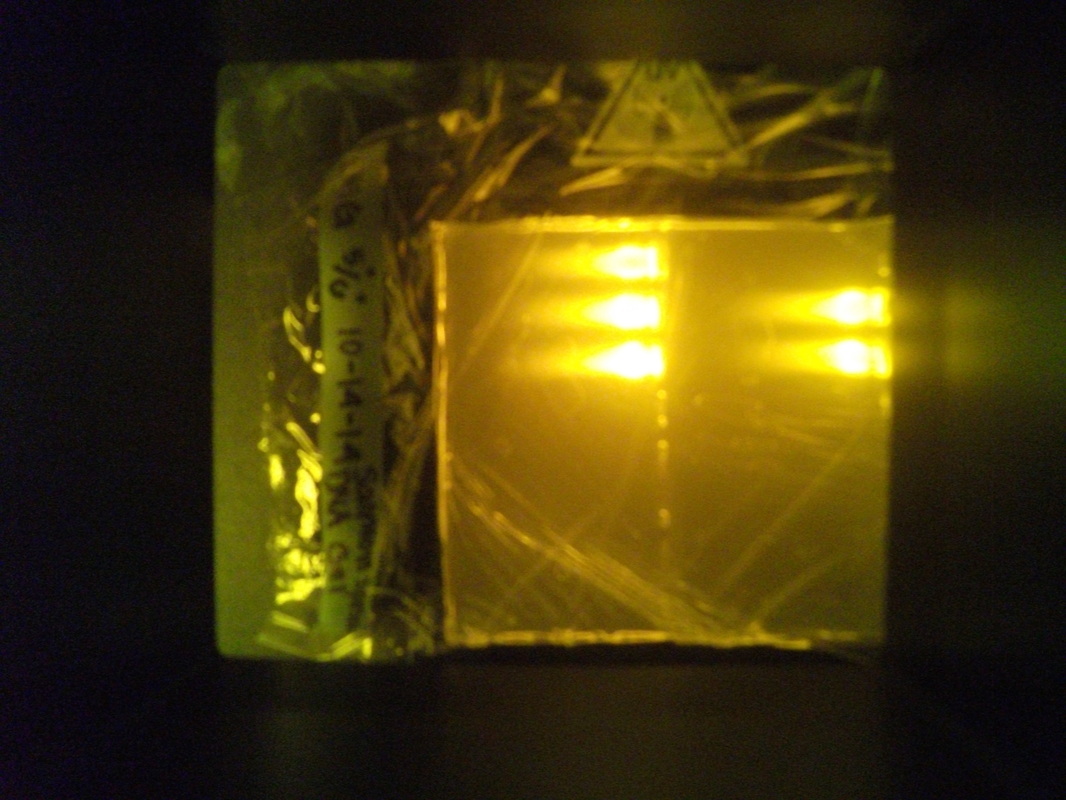
Photos of DNA Gel plugged into a power of 110V
DNA Gel under ultra violet light
Reflection
My group and I worked very well together. No major setbacks or any arguments took place which benefited our progress in completing the labs. In terms of efficiency, our group tended to finish as one of the last groups, but we accepted it because we knew we thoroughly and correctly accomplished all the steps in the procedures. You would rather take up more time doing projects right, then speed through the process making careless mistakes.
We did have a few bumps in the road in terms of minor mistakes, but they were easily fixed. One mistake that I had accidently encountered was that I couldn't figure out how to stop the deionized water from pouring into the graduated cylinder. I then realized you turn left to stop the flow of the water, but by then there was already a puddle on the ground. This problem simply required some paper towels and a couple minutes of our time to be fixed. another issue that came up was one of our solutions that we tried to pipet kept on releasing air bubbles in the pipet tips. So we first resuspended it and tried again, but there were still air bubbles. Then another member of my group tried to pipet it, after resuspending it a second time, but again was not successful. Our group just decided to make replicate of the solution and try pipetting it again. Luckily it worked, but we did spend some time attempting to pipet the liquid. Avoiding mistakes is inevitable in science labs, but preventing the same ones from occurring, you just have to be more cautious when dealt with similar situations.
I would categorize my skills at pipetting as average. I am very consistent with the larger pipets, but when it came to the smaller ones it required intricate movements, which I lacked in the first times around. I eventually got the hang of it and successfully used the pipet to displace the liquid into the gel. I believed I was accurate in adjusting the pH and making solutions. As a group, we got the pH of our solution to be 8 exactly, which was right in the middle of our limitations. In making solutions, our whole group showed their skills in different areas. For one, I thought I was precise in measuring substances on the analytical and tabletop balances, while Cate, Bronte, and Emilie were all skilled at different levels of pipeting. I do think that we need more practice in pipetting and making substances, because these two techniques are crucial in having successful experiments in the future.
